Dark Chocolate Cookies Filled with Dulce De Leche

Image

(You have my permission to skip through the blah blah blah and go straight to the recipe, this cookie is wayy more interesting than I am)

At first when I created this blog I told myself I wouldn’t share anything about myself. I would just type out the recipes and say here you go, try it, bye. But then I realized more and more that I actually ENJOY reading what my favorite bloggers have to say! (I don’t know why this was such a massive revelation?)

Image

So if you have been wondering why these desserts are getting more and more complicated, well here is the deal. I applied to grad school a few months ago and am now in the process of hearing back (aka I check my email 100 times, I’ve started lurking on grad school message boards, Fridays fill me with dread since they are the days rejections go out according to the message boards….). So in order to keep my crazy under control I have been baking up a storm and getting a little fancier. Don’t worry, though. I will be back to easy desserts and recipes for two after the first week in March (according to the messages boards..) so in the meantime enjoy some pictures and absolutely wonderful dark chocolate cookies stuffed with dulce de leche.

Image

This past week at the request of my boyfriend I made a tres leches cake (more to come on that later this week so stay tuned!) and ended up having some leftover sweetened condensed milk so I attempted to make dulce de leche.  This ended up being a total pain (I stood over a double boiler for 4 hours stirring constantly) and maybe I will try this again but honestly I live a short walk away from a Safeway where I can buy some dulce de leche for $2 so this may be one kitchen DIY trend that I pass on…

Image

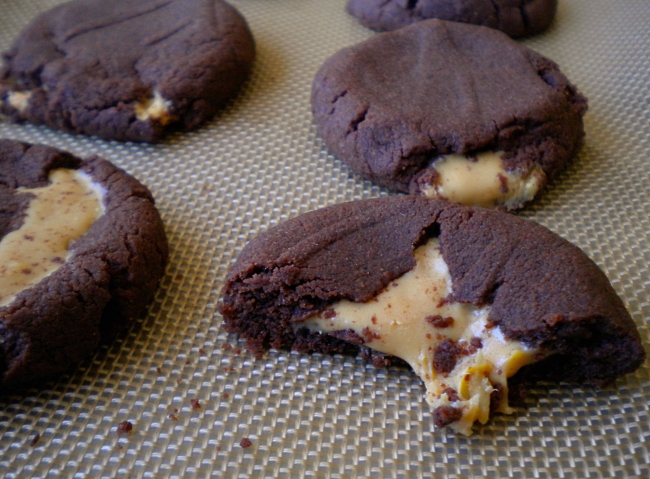
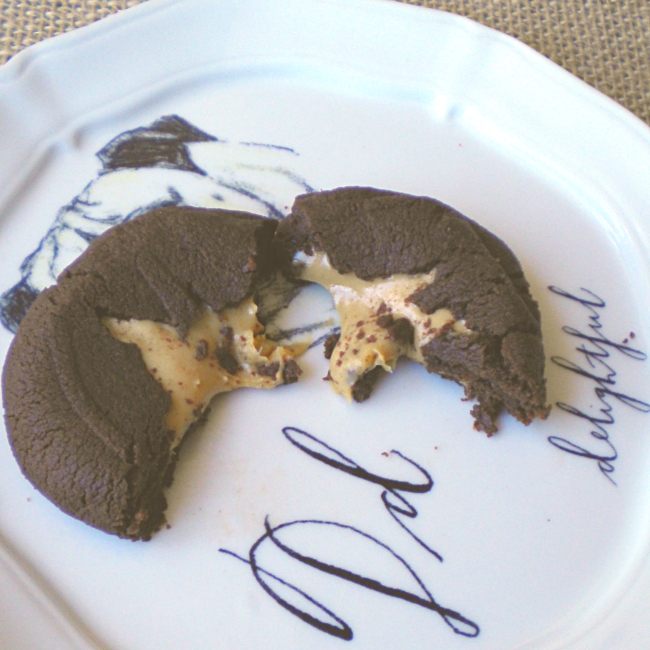
I decided to make these cookies as a play on another of my favorite cookies, chocolate cookies filled with salted caramel. These dark chocolate cookies taste reminiscent of a dark chocolate brownie and have a slightly sandy texture which perfectly compliments the gooey, luscious, chewy dulce de leche. These cookies NEED the dulce de leche; alone they are good but truly the dulce de leche makes them. If you use a typical thick chewy chocolate cookie it won’t be able to contain the dulce de leche in the oven and you will end up with a gooey, sticky mess.

Image

You could also get creative and stuff the cookie with Neutella, a nut butter, or any other creamy spread you like paired with rich dark chocolate.

Image

I think these cookies are a HUGE hit and they are unbelievably easy! Everyone says they like chocolate chip cookies and sure, those are great but bring some stuffed cookies to your friends and you are SURE to be remembered as a cookie genius, especially ones stuffed with caramel-y milk-y chewy, gooey dulce de leche!

Image

The Dulce De Leche

Image

*You can either make your own if you are feeling adventerous and have 2-3 hours on your hand. Mine turned out fine but feel free to buy your own. I won’t judge you (I may or may not have created an elaborate “exercise walk” that includes a trip by the grocery store so I could buy some) if you purchase yours.

1. Spray some non stick baking spray on a plate and then spoon 1/2 tbs sized balls of the dulce de leche onto the plate (if you are making this cookie recipe you only need 6 balls but if you are making a bigger batch then make as many balls as you will have cookies) and then stick the plate into the freezer.

2. Allow the dulce de leche to freeze completely through before using it, this takes about 2-3 hours.

Image

(Stay with me, this is the end product!)

The Cookie

2 tbs butter

2 oz milk chocolate chips

2 tbs cocoa powder

1 egg yolk

5 tbs white granulated sugar

3 tbs bread flour

1. Melt the butter and chocolate chips together in the microwave, about 30 sec. Preheat the oven to 350 degrees and place a silicon baking mat on the baking sheet.

2. Stir the melted butter and chocolate chips together till combined, add in the cocoa powder, egg yolk, and granulated sugar.

3. Finally stir in the bread flour. The dough will feel a little crumbly but that is perfectly fine! These cookies have a texture cross between a chocolate cookie and regular chewy chocolate cookie so trust that magic happens in the oven.

4. Break the dough into 6 equal pieces and then flatten out the dough. Tuck a piece of frozen dulce de leche inside and then roll the dough into a ball and flatten slightly and place it onto the baking sheet.

5. Bake the cookies for 9 to 11 minutes till the cookies are set and the dulce de leche is JUST starting to peak through. Allow the cookies to cool for 10ish minutes before devouring them! Good thing this batch only makes 6…..

What would YOU like to tuck into a chocolate cookie?

I’m thinking I need to find a way to stick something strawberry into a chocolate cookie….

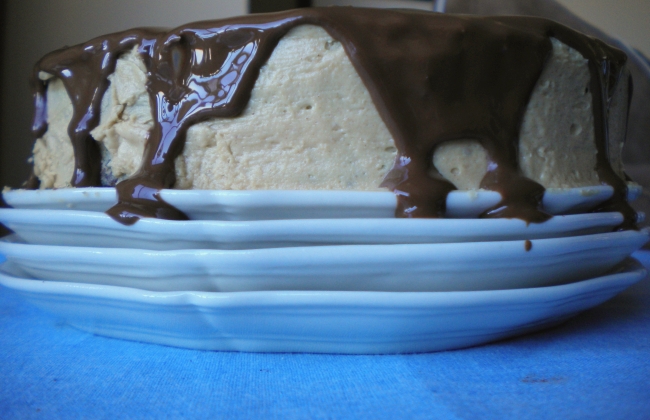
Dark Chocolate Pound Cake Smothered in Peanut Butter Frosting Enrobbed in Milk Chocolate for Two

Image

I have a confession to make. I don’t like peanut butter and neither does my main taste tester aka boyfriend. Peanut butter has never really been his cup of tea, he prefers chocolate, cookies ‘n’ cream, cookie dough (are you seeing a pattern here?) and, well, for many years I HATED peanut butter.

Image

It all started one day when I ate my first Reeses cup. Just a few days before I had watched the Arthur episode where everyone is afraid that peanut butter will stick their mouths shut. So obviously I was terrified that my mouth would also get stuck shut by the peanut butter! This was a traumatic experience for me. Then for many many years I was able to largely avoid eating anything containing peanut butter and on Halloween I traded all my Reeses away much to the happiness of my friends and parents.
 Image
(Duhh duhh duhhh dun dun! Isn’t it glorious?)
However, I have come to realize that I actually like the flavor of peanut butter, as in peanut butter cookies with chocolate or chocolate peanut butter brownies.
Image
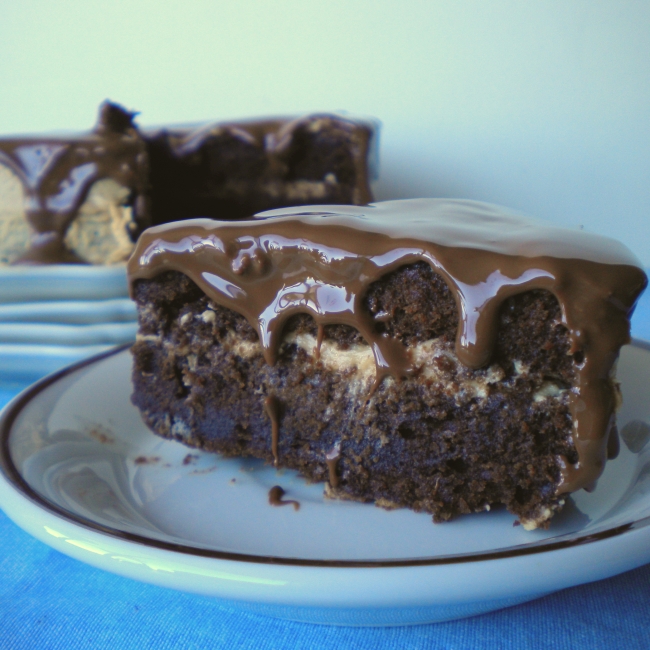
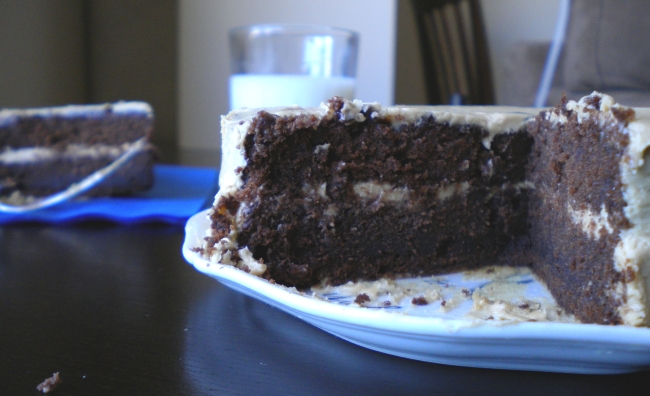
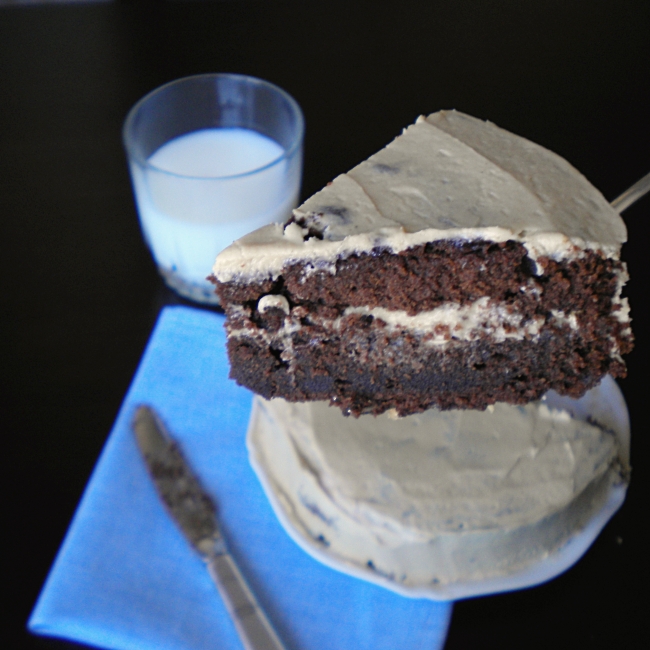
(look at that gorgeous tight crumb, it’s calling for a glass of milk)
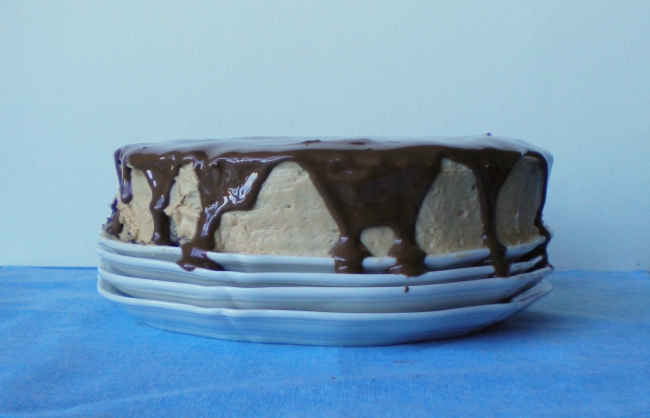
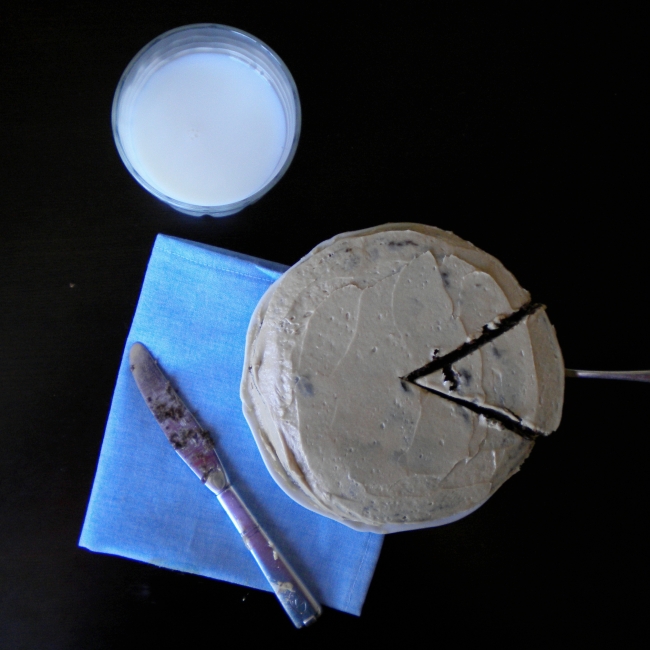
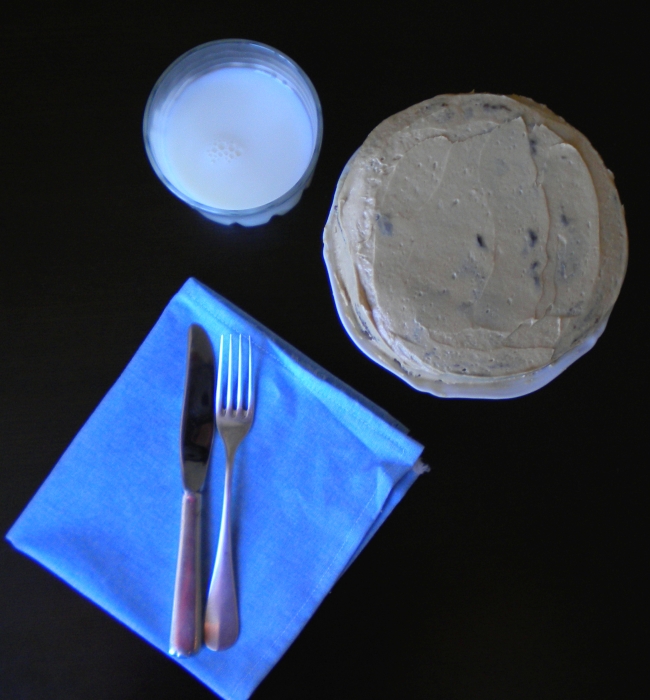
You probably won’t find too many peanut recipes on this blog so when I do post something with peanut butter in it, take notice! This cake is goooodddd and even my peanut butter disliking boyfriend agrees! The frosting has a fabulous pure peanut butter taste that isn’t masked by tons of powdered sugar and this recipe makes just enough to frost this cake. It takes a little beating with a hand mixer but it is sooo worth it. It is light and airy and so good, in fact, I couldn’t help eating it with a spoon.
Image
Image
(I know you want some!)
The chocolate pound cake recipe is slightly adapted from Cook’s Illustrated. It has a velvety texture, a tight crumb, and an intense chocolate flavor. To me this is the perfect sturdy chocolate cake. Since I knew I would be pairing it with light billowy peanut butter frosting and then pouring chocolate over that I wanted to pick a cake that could stand up to all this awesomeness.
Image
Recipe for Dark Chocolate Pound Cake 
 1/2 cup of all purpose flour
1/2 tsp of salt
6 tbs cocoa powder
2 oz any type of chocolate (I used milk because that is what I had but if you want a super intense chocolate cake then go for the unsweetened chocolate)
3 tbs boiling water
1 stick of butter at room temperature
1/2 cup of white granulated sugar
2 tbs brown sugar
2 tsp vanilla extract
2 eggs
1 egg yolk
(I know, I know, this sounds like a LOT of ingredients for a 6 inch cake for two but TRUST me the results are worth it)
1. Heat the water in a small microwave safe bowl till boiling. Add in both the chocolate and cocoa powder and mix till smooth. Allow it to sit for 5ish minutes to cool to room temperature. In the mean time, preheat the oven to 350 and grease your 6 inch baking pan (I used a spring form pan but a regular 6 inch pan would also work here).
2. Beat your sugars, vanilla, and butter together for 1-2 minutes at a medium speed.
3. Add in the cooled chocolate mixture and beat for another 2-3 minutes, then add in the eggs and beat again.
4. Finally add in the flour and beat just till combined.
5. Pour the batter into the pan. It may seem like a lot and the cake will rise up and then deflate in the oven but I had no trouble baking it all in my spring form pan.
6. Bake the cake for 30-40 minutes checking after 30 minutes every 5 minutes (My oven was not cooperating while I was attempting to bake this cake so I apologize for the loose baking time)
7. Allow the cake to cool for 5-10 minutes. Remove from the pan and then allow the cake to completely cool before cutting it in half to make layers for the cake.
Recipe for Perfect Peanut Butter Frosting 
1/4 cup heavy cream at room temperature
1/2 stick butter at room temperature
1/2 cup of peanut butter
1-1 1/2 cup powdered sugar (depending on how thick and sugary you like your frosting)
1 pinch salt
1 tsp vanilla extract
1. Beat butter, cream, vanilla, salt and peanut butter on low, working your way up to high till it is completely combined and whipped in texture.
2. Add in the powdered sugar and whip it again! Start with 1 cup and if you want a stiffer frosting add a little more powdered sugar.
3. Frost the cake after it has cooled completely
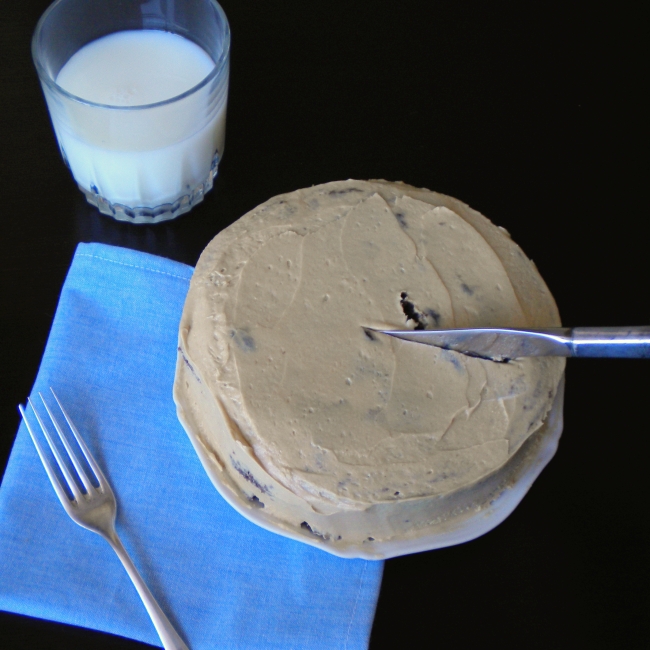
4. I didn’t bother with a crumb coat because I knew I was pouring more chocolate over the top so the majority of the frosting would be hidden, but if you are feeling fancy, go for it!
Image
Recipe for Milk Chocolate Ganache
1/3 cup milk chocolate (I actually used left over fondue chocolate from Valentine’s Day but chocolate chips or even candy bar chocolate should do the trick here)
1 tbs heavy cream (room temperature)
1. Zap the chocolate in the microwave for 15 seconds, stir and if it needs it give it another couple seconds and then stir till smooth.
2. Add in the tbs of heavy cream and stir again till combined.
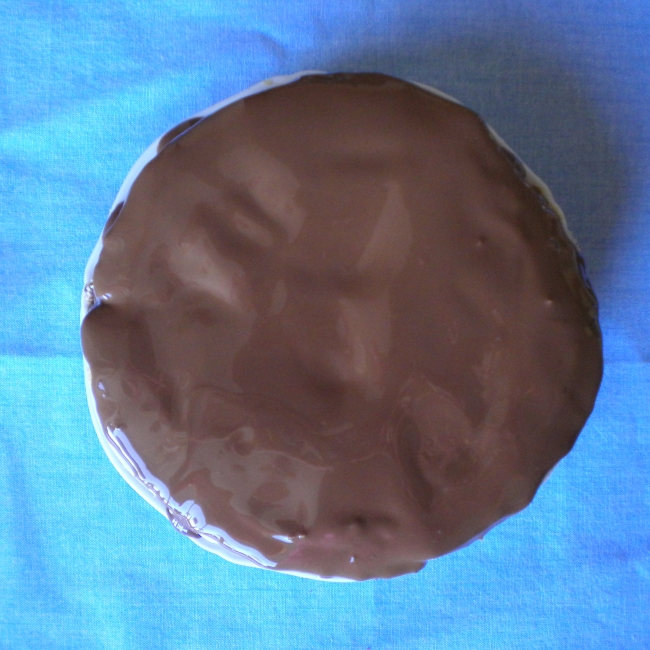
3. Pour onto the cake in the center and allow it to flow out towards the edges. I used a knife to spread out the chocolate on top of the cake to create a glossy coating and pushed it a little to make those gorgeous drips down the side.
*If you put the chocolate cake into the fridge the top will slightly harden, which isn’t really a problem and actually makes it significantly easier to transport the cake. I just wanted to warn you just in case.
   Image

Sundae Pie Cake

Image

I am a big believer in “go big or go home”

Image

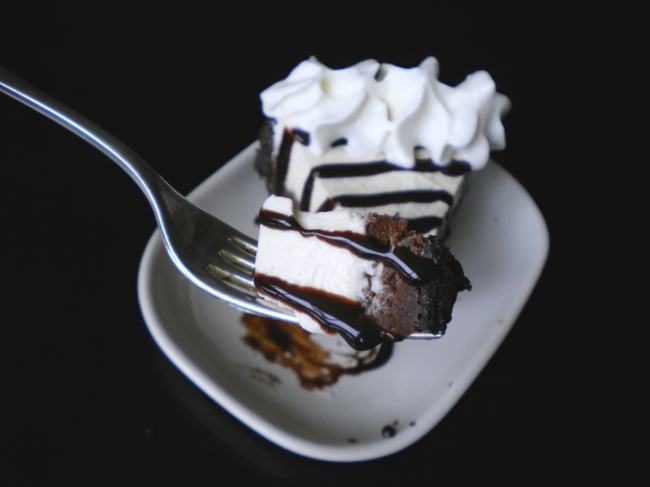
And this pie cake (pake? cie?) absolutely embodies that mentality, in the best possible way because its main flavors are chocolate and cream. It also has a different texture in each layer starting with a thick, crunchy Oreo crust, filled with a fudgy (almost) flourless chocolate cake, topped with a mixture of whipped cream and marshmallow fluff.

Image

It might seem that this is a lot of work for a 6in cake for two people but trust me it’s so easy you won’t even notice you just made something with three layers. I made it all in one evening after work but it could actually be broken up quite easily if you wanted to make the crust one night, then bake the cake the next, and finally finish off the cake with the cream layer the day after.

Image

After seeing how easily this pie cake came together it got me thinking; what other cakes would be delicious in an Oreo or graham cracker crust? I’m thinking that a pound cake in a graham cracker crust topped with some warm strawberries and whipped cream would be pretty amazing and a fun play on a strawberry shortcake and strawberry pie… Or maybe a red velvet cake in an Oreo crust? Ahhh the possibilities are endless!

Image

(I feel weird saying it but there is something sexy about this cake with the creamy topping and the fudgy chocolate cake topped with silky chocolate sauce all in a thick crunchy Oreo crust)

Image

Here is the recipe (Don’t be scared away by how long it is! I swear it is easy!)

Oreo Crust:

1/2 a package of Oreos ( I like having a really thick Oreo crust, but if you like a thinner crust just use one of the three lines of Oreos in the standard Oreo package)

2 tbs white granulated sugar

3 tbs melted butter

1. Crush the Oreos into crumbs in a food processor and leave the cream in the Oreos! This helps the crust stick together and allows the crust to retain that distinctly Oreo-y flavor that comes from the cream.

2. Add the sugar and melted butter into the food processor and pulse till all the crumbs appear moistened.

3. Pack the crust into a 6in spring form pan sprayed with Pam or another nonstick spray.

4. Put the crust in the freezer to allow it to firm up before pouring in the cake batter.

Almost Flourless Chocolate Cake

2 oz chocolate or 1/4 cup if you don’t have a kitchen scale (I used milk chocolate because that is what I had on hand but you could absolutely use semi-sweet or even darker for a more intense chocolate flavor)

2 tbs unsalted butter

2 tbs granulated sugar

2 tbs all purpose flour

1 egg separated

1. Separate the egg and beat the white into stiff peaks, this is what gives the cake the little lift it needs. Pre-heat the oven to 350 degrees.

2. Melt the butter and chocolate in the microwave and stir till smooth.

3. After letting the melted butter and chocolate cool for a few minutes, till it is lukewarm, add in the sugar, egg yolk, and flour.

4. After these are combined fold the egg white into the cake batter.

5. Pour the cake batter into the Oreo pie crust and bake at 350 degrees for 20-30 minutes. A crust should form on top of the cake and the cake may appear a little jiggly but since this is a cake that goes into the fridge to firm up, that is perfectly fine and what helps makes this cake so deliciously fudgy!

6. Allow the cake to completely cool in the fridge before topping with the cream topping. If the cake is warm when adding the topping it will just melt into the cake.

Cream Topping

1/2 cup of heavy whipping cream

1/2 cup of Marshmallow Fluff

1 tsp vanilla

1. Whip the heavy whipping cream till you have soft peaks.

2. Add the marshmallow cream and vanilla to the whipped cream and beat again for another 30 seconds or so till it is completely combined.

3. Spread the whipped cream mixture over the completely cooled cake and allow the cake to set up in the fridge for an hour or so till the cream firms up and becomes easier to slice.

4. serve topped with chocolate syrup and extra whipped cream.

Image

(yumm, extra whipped cream!)

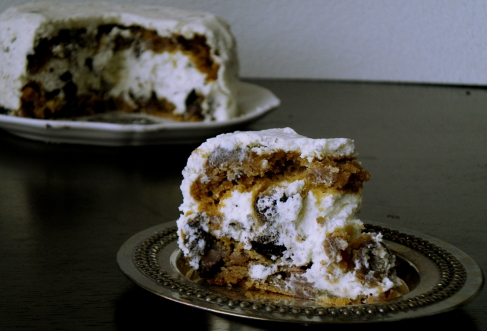
(Not a great picture but I just wanted to give you the side view for the full effect. As you can see the Oreo crust is pretty thick, the cake layer is rich and fudgy looking, and the cream topping firms up a little in the fridge )

Image

Image

Do you have any ideas for a pie-cake combo?

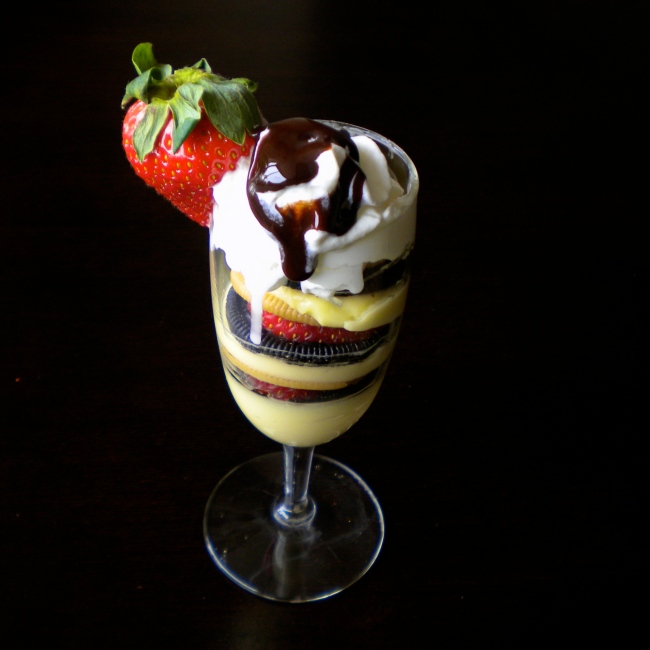
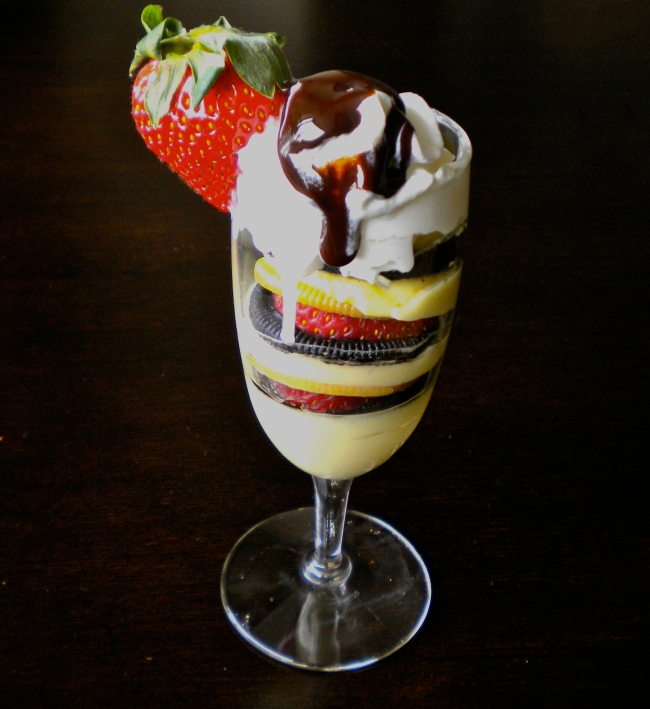
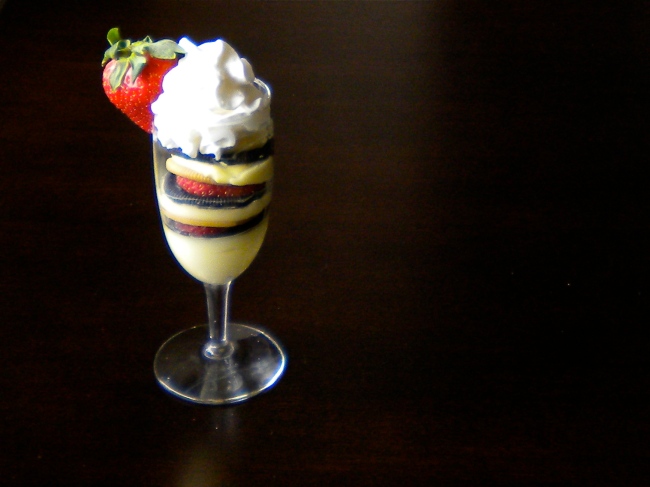
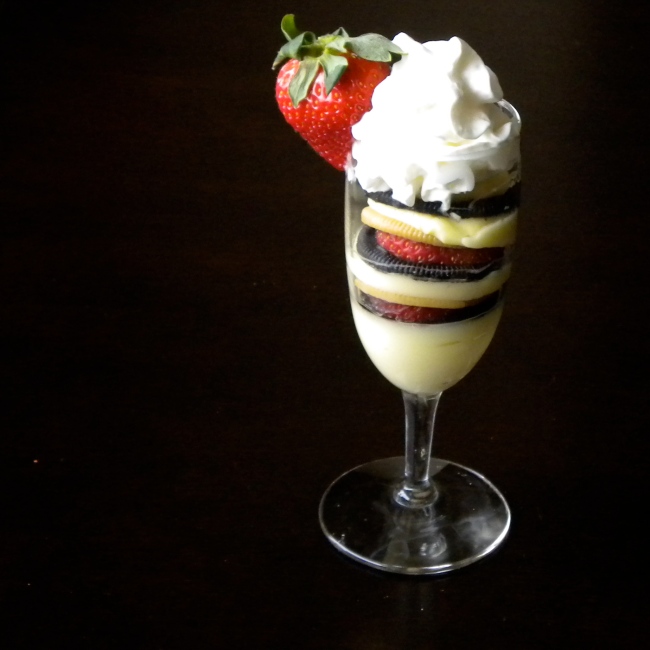
Pudding Ice Cream Sundae (So easy, it is hardly a recipe!)

Image

This dessert is so easy it is hardly a recipe. It is the perfect dessert for Valentine’s Day because you make it the night before! Yup, so no stressing on the actual night. No thinking all through dinner “Am I burning the cake in the oven?”, “How will I frost this in time?”, and the biggest one of all “Will this even taste good?”Image

This recipe doesn’t require an oven! Just a bowl, a whisk, and a knife! That is absolutely it! Oh yeah and chocolate sauce and whipped cream if you want to take this dessert to the next level (and trust me you do!)Image

This dessert will fill four champagne flutes or roughly two water glasses, although it isn’t an exact recipe so you may have a little left over.

ImageImage

4-8 strawberries

1 1/2 cups milk (any level of fat will work)

1 package of banana cream instant pudding

1 package of Golden Oreos

1 package of traditional chocolate Oreos

Recipe

1. Prepare the pudding as directed but using 1 1/2 cups of milk instead of the recommended 2 cups to create a thicker and creamier pudding that will hold up better. Allow the pudding to set up for 10-15 minutes in the refrigerator after beating the pudding.

2. While the pudding is setting up, separate at least 8 Oreos of each flavor and removing the cream. Slice 4-5 strawberries crosswise making thick disks.

3. Once the pudding has set up, start assembling! I placed a spoonful of pudding at the bottom of the glass, then one Oreo, then a slice of strawberry, then an Oreo of the other flavor, then pudding, then repeat! Champagne glasses are roughly as wide as an Oreo but for a water glass you may need to break up Oreos to create a full layer. Once you have filled up your glasses put them in the fridge.

4. Go to sleep and pat yourself on the back! By the time you are finishing up dinner on Valentine’s Day your pudding sundaes will be completely finished!

Wasn’t that easy? You don’t need to tell your date that though!

Image

Do you have any dessert recipes that are both easy and impressive?

Chocolate Chip & Oreo Ice Box Cake

Image

This type of dessert is my boyfriend’s favorite. You may know it as an ice box cake or a no bake cake but my boyfriend calls it a mush cake which is probably the most accurate way to describe it.

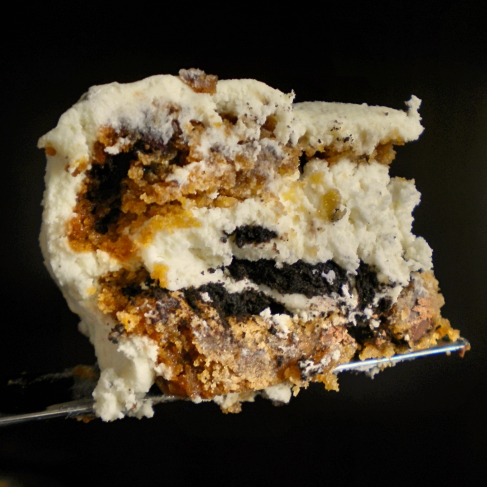
Usually this cake is made by layering chocolate wafer cookies (like Oreo wafers) with sweetened whipped cream and then allowing the creation to sit in the refrigerator for at least 4 hours (preferably over night so that cookies become completely softened). However since it is almost Valentine’s Day and I enjoy a little challenge I decided to make a mush cake out of my boyfriend’s two favorite flavors, cookies and cream & chocolate chip cookies.

Image

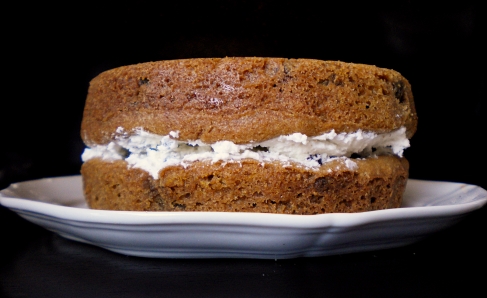
This is the perfect make ahead dessert and one I truly recommend if you want a cake for one or two. The cookies become softened by the cream and everything seems to meld together and form something completely new in the refrigerator. This little cake is perfect for when you are feeling lazy or when you want to wow a dinner guest with an adorable retro cake!

Image

To make this dessert all you need are two large chocolate chip cookies (I made my own and will include the recipe, although two large chocolate chip cookies from a bakery would work just as well) and 3/4 a cup of heavy whipping cream, powdered sugar, vanilla, and some Oreos.

Image

2 4 inch chocolate chip cookies

3/4 cup heavy cream

2 tbs powdered sugar

1 tsp vanilla

2-3 Oreos crunched up

1. Whip the heavy cream in a small mixing bowl till it forms stiff peaks. Add 2 tbs of powdered sugar and 1 tsp of vanilla to the whipped cream. Beat for another 10-15 seconds till completely combined.

2. Place the first cookie on a small plate and use a dab of the whipped cream to stick the cookie to the plate.

3. Take 2-3 Oreos and crumble them over the cookie on the place. Place a large dollop of whipped cream over the Oreos and spread the cream like you are frosting the middle layer of a layer cake.

4. Place the second chocolate chip cookie on top of the whipped cream and then frost the cake with the remaining whipped cream.

5. Now place the cake into the refrigerator and wait for the magic to happen! I allowed my cake to sit for 24 hours before allowing my boyfriend to devour it but you could eat it sooner than that.

Image

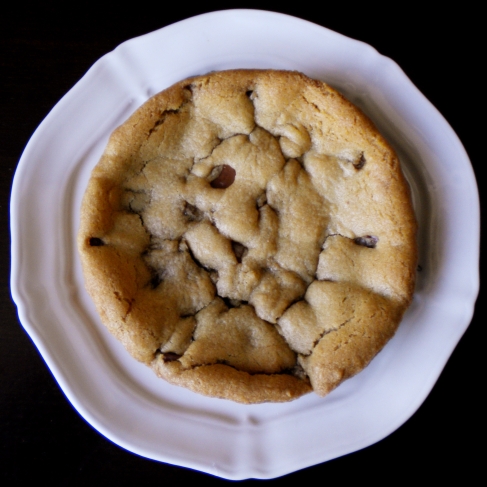
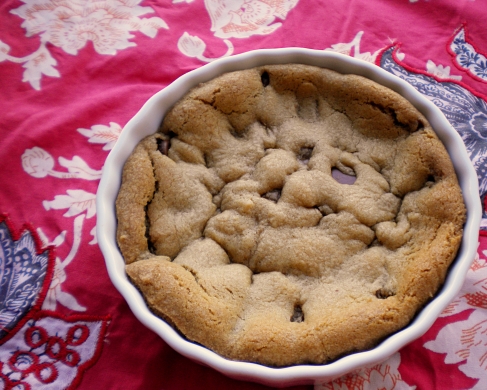
Chocolate Chip Cookies

These cookies are great in the recipe but also wonderful when warm out of the oven and topped with a scoop of ice cream and a drizzle of chocolate and caramel sauce.

For this recipe you will need two 4 inch creme brule dishes or little pans to make the two layer cake.

2 tbs butter

5 tbs brown sugar

1 egg yolk

1 pinch salt

1 tsp vanilla

1/4 cup all purpose flour

1 tbs bread flour

1/2 tsp baking soda

1/4 cup chocolate chips

1. Melt the butter in a small bowl ( you can make these in a cereal bowl!). Add the brown sugar, salt, and vanilla and stir till smooth. Preheat oven to 350 degrees.

2. Separate the egg and add the yolk to the cookie dough and then stir again till combined. I use the leftover whites for making omelets or throw them in frittatas for extra protein.

3. Add both types of flour and the baking soda and mix till it comes together and there are no more flour clumps. Add chocolate chips and give it a final stir.

4. Spray both baking dishes with non-stick spray. Divide the cookie dough in half (I find using a kitchen scale useful for doing this but eyeballing works well too!) and pat into the two baking dishes.

5. Bake for 9-12 minutes at 350 degrees. You want the tops of the cookies to be golden brown but be sure to pull the cookies out if the edges look too dark.

6. Wait for pans to cool, about 10 minutes, before loosening the edges with a knife and gently removing the cookies from the pans. Allow them to cool completely on a plate because assembling the cookie cake as warm cookies will melt the whipped cream.

**These cookies could also be baked on a cookie sheet but you may need to trim the edges to make sure they are exactly the same size so that the cookie cake has even edges.

Chocolate Chip Cream Scones

Image

This may be the easiest recipe I ever post on this blog.

It only requires 5 ingredients you probably already have in your kitchen, takes 30 seconds of mixing with a fork in a cereal bowl, and 10-12 minutes in the oven!

Then voila out come perfect light, airy chocolate chip scones!

And for a brief moment in time everything (seriously, everything) is right in the world.

Recipe

1/2 cup all purpose flour

1tbs granulated sugar

1 tsp baking powder

1/4 + 2 tsb (or 6 tbs) heavy whipping cream/heavy cream

1 handful of chocolate chips (I leave this to your discretion. I used about 2 tbs of milk chocolate chips but dark and semi sweet are fabulous as well)

1. Preheat the oven to 450 degrees.

2. Add dry ingredients, flour, sugar, and baking powder, into a small bowl and stir together with a fork.

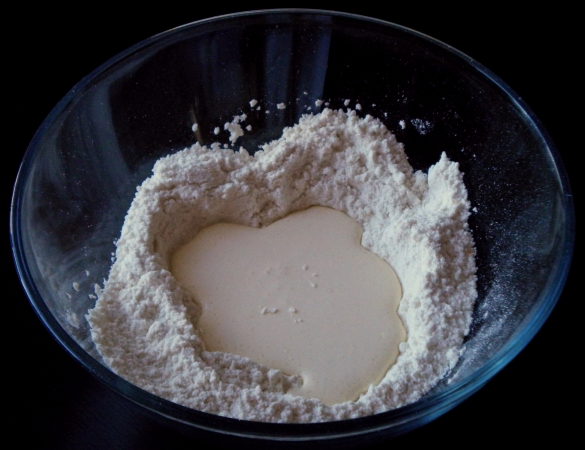
3. Create a well in the center of the flour and pour the cream into the center.

Image

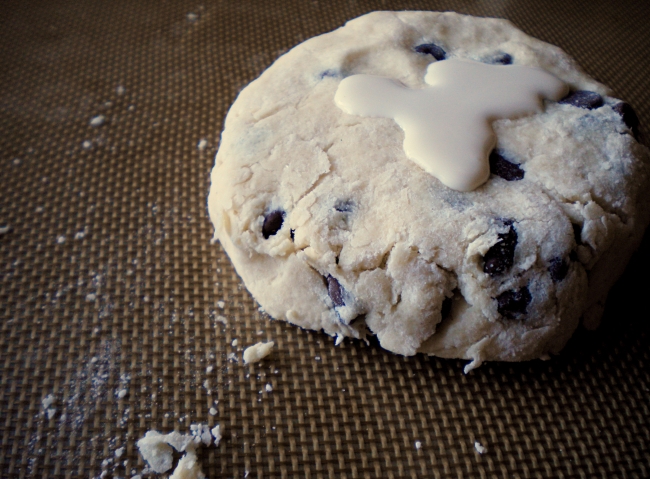
4.Stir the dough together gently. See how beautiful and craggy it looks? This is not meant to be a homogeneous dough, there should still be pockets of flour and some unevenness. Mixing the dough vigorously till it is completely smooth can result in a tougher scone as you will have developed more of the gluten in the flour. Image

5. Place the dough on a baking sheet, preferably covered in parchment paper or a silicon baking mat, and then pat into a small round about 1 inch thick. Don’t worry about perfection here. See how my disk isn’t a perfect circle and the dough looks a little flaky? That is what your going for. They are an inner beauty food, if you will.

6. Drizzle a little extra cream on top and then either with your finger (if you are lazy and cheap like me) or a pastry brush (If you own one and are fancy like that) brush the cream over the top of the dough. Chocolate Chip Cream Scone.5

7.Use a sharp knife and cut the dough into quarters. Separate the scones on the baking sheet and then pop them into the oven. Check the scones after 10 minutes, they should be turning a light golden brown on top and have puffed up slightly while baking. If they appear underdone give them another 2 minutes, any more than that and you risk burning the bottom of the scones.

8. Remove the scones from the oven and allow them to cool on a wire baking rack, placing them on a plate can cause the bottom of the scones to become soggy.

You should end up with something like this…

Image

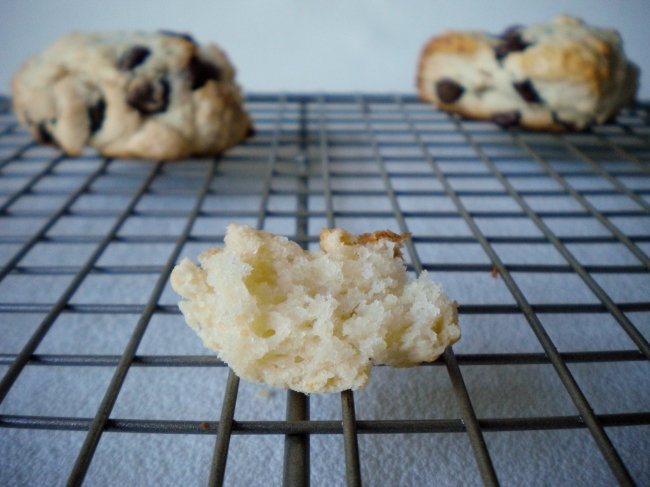
Something so light and delicate that when you move it a little piece breaks off forcing you to eat it (cream scones are sneaky like that).Image

Then you see all the airy little pockets created by the gentle mixing process and the baking powder and think well, now I need to try the tender middle of the scone (for quality control reasons of course).Image

And you find that yes, the middle is just as delightful and satisfying as the outer crust!

So satisfying in fact that you find yourself taking another bite… and then another….  ImageAnd then there is hardly any scone left.
Chocolate Chip Cream Scone.13So now you have to finish it, there is just no way around it.

Chocolate Chip Cream Scone.14*I would like to point out that there are only 3 scones in the original picture. This is because before I could even photograph them I ate one. I have no self restraint around warm cream scones so its a good thing I created a recipe that only makes 4!

Do you have any other flavors of scones that you love?

I am planning on experimenting with red velvet soon for Valentine’s Day! (Or Gal-entines Day ala Parks and Rec)